Are you looking to elevate your car’s audio system and enjoy heart-pounding bass while driving? Installing a car amplifier and subwoofer is the perfect way to achieve that immersive audio experience. In this comprehensive guide, we’ll provide you with a step-by-step walkthrough, complete with a diagram, on how to install a car amplifier and subwoofer. Let’s get started!
Step 1: Gather Your Equipment
Contents
- 0.0.1 Step 1: Gather Your Equipment
- 0.0.2 Step 2: Disconnect the Car Battery
- 0.0.3 Step 3: Plan Your Installation
- 0.0.4 Step 4: Mount the Amplifier
- 0.0.5 Step 5: Run Power and Ground Wires
- 0.0.6 Step 6: Connect the Remote Turn-On Wire
- 0.0.7 Step 7: Install the Subwoofer Enclosure
- 0.0.8 Step 8: Wire the Subwoofer
- 0.0.9 Step 9: Connect the RCA Cables
- 0.0.10 Step 10: Secure the Wiring
- 0.0.11 Step 11: Install the Fuse
- 0.0.12 Step 12: Reconnect the Car Battery
- 0.0.13 Step 13: Fine-Tune the Settings
- 0.0.14 Step 14: Test Your System
- 1 How to install car amplifier and subwoofer diagram
Before diving into the installation process, ensure you have all the necessary equipment:
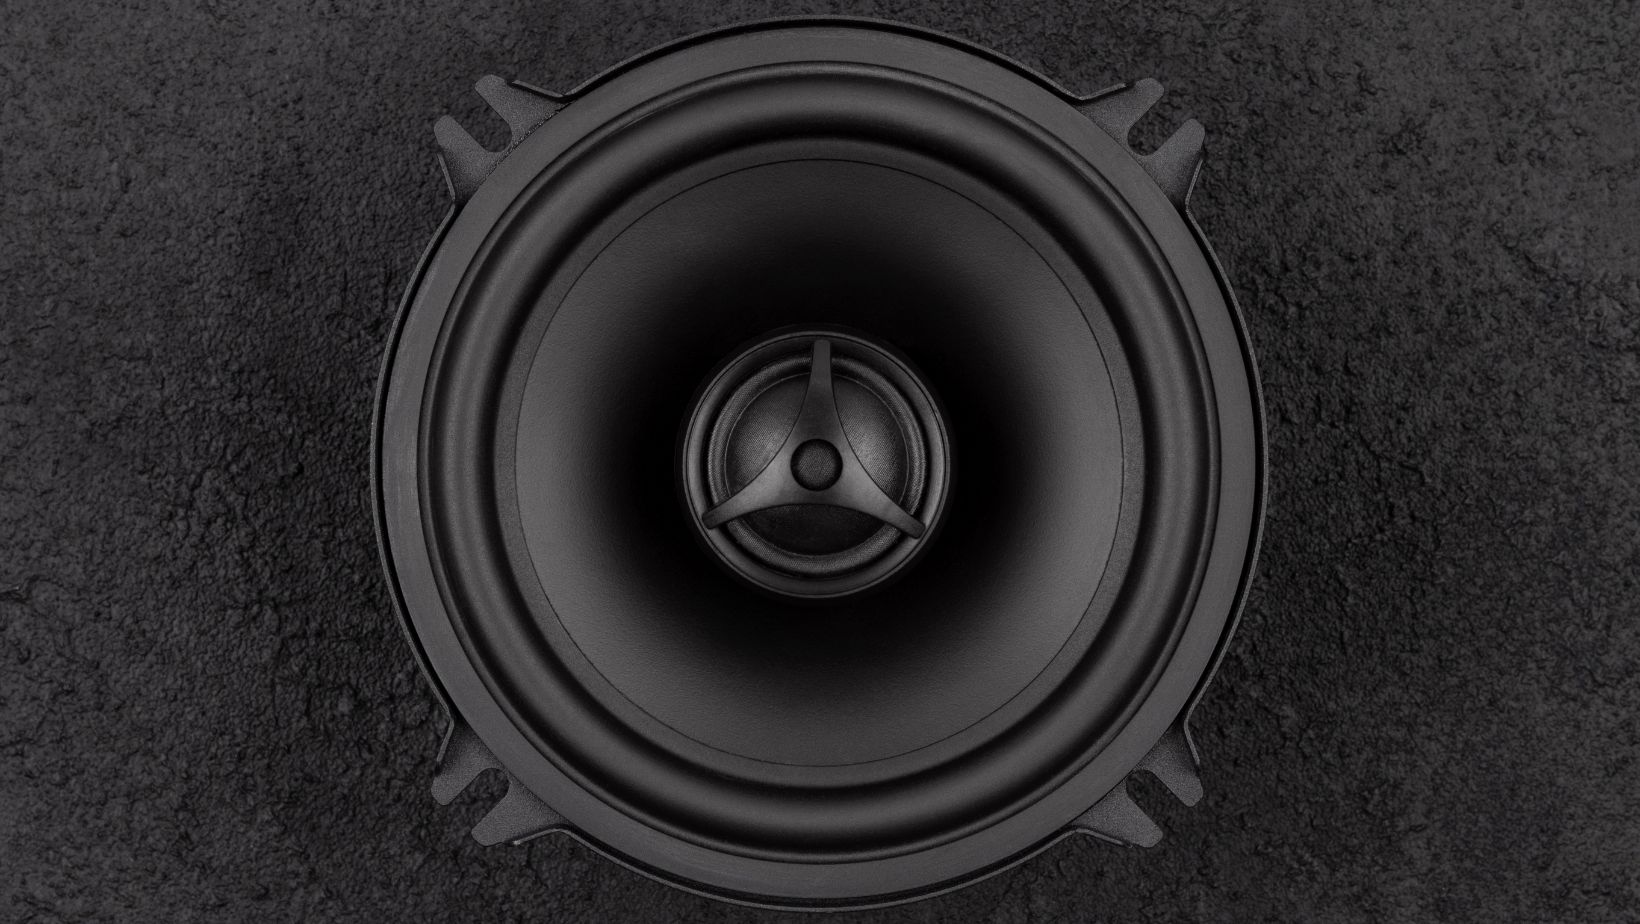
- Car amplifier
- Subwoofer
- Wiring kit
- Screwdrivers
- Wire cutters/strippers
- Crimping tool
- Amplifier mounting kit
- Subwoofer enclosure/box
- RCA cables
- Speaker wire
- Power cable
- Ground wire
- Fuse holder and fuse
- Wire connectors
Step 2: Disconnect the Car Battery
Safety first! Begin by disconnecting the car’s battery to prevent electrical accidents while working on your audio system.
Step 3: Plan Your Installation
Plan the amplifier and subwoofer placement. Ensure that the components fit in your car’s available space, and keep in mind the subwoofer’s enclosure type (sealed or ported) for optimal sound quality.
Step 4: Mount the Amplifier
Use the amplifier mounting kit to secure the amplifier in a location that allows for proper ventilation and is out of the way of moving parts. Connect the power and ground wires to the amplifier using the appropriate connectors.
Step 5: Run Power and Ground Wires
Run the power wire from the car battery to the amplifier’s location, following the manufacturer’s guidelines for wire size and fusing. Also, run a ground wire from the amplifier to a metal part of the car’s chassis.
Step 6: Connect the Remote Turn-On Wire
Connect the remote turn-on wire from your head unit to the amplifier, ensuring that it activates the amplifier when the car’s stereo system is turned on.
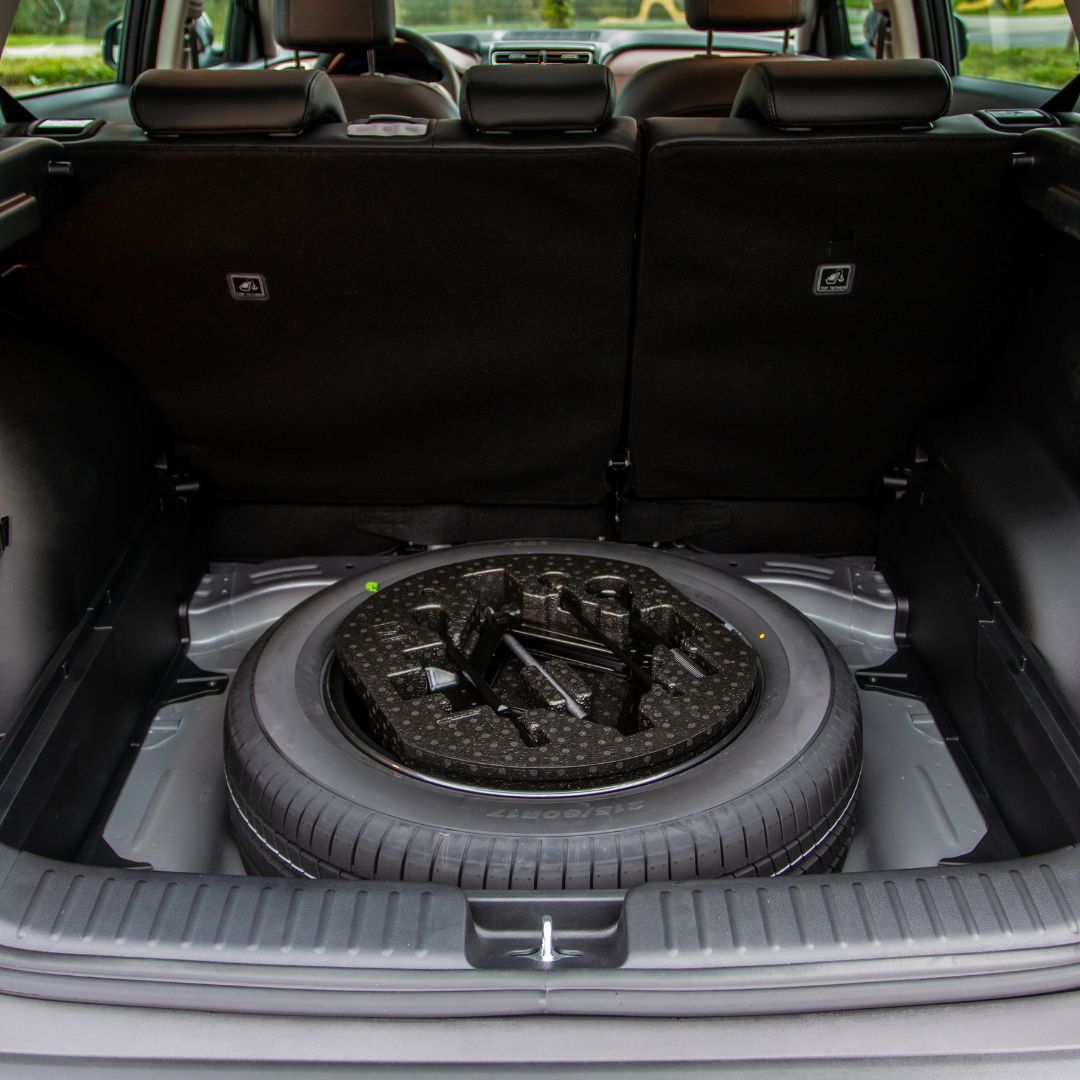
Step 7: Install the Subwoofer Enclosure
Place the subwoofer enclosure in your car, securing it in a suitable location. Ensure it’s well-anchored, and remember to maintain the recommended airspace for your subwoofer.
Step 8: Wire the Subwoofer
Connect the subwoofer to the amplifier using the appropriate speaker wire. Be sure to match the positive and negative terminals correctly.
Step 9: Connect the RCA Cables
Run the RCA cables from the head unit to the amplifier. Connect them to the corresponding RCA inputs on the amplifier.
Step 10: Secure the Wiring
Organize and secure all the wiring neatly, using zip ties or clips, to prevent interference with other car components.
Step 11: Install the Fuse
Insert the appropriate fuse into the fuse holder on the power wire near the battery terminal to protect the system from electrical issues.
Step 12: Reconnect the Car Battery
Reconnect the car battery, ensuring a safe and secure connection.
Step 13: Fine-Tune the Settings
Now that the physical installation is complete, it’s time to fine-tune the settings on your amplifier and head unit to get the best audio quality. Refer to the user manuals for guidance on adjusting gain, crossover, and other settings.
Step 14: Test Your System
Start with a low volume and gradually increase it to confirm that the amplifier and subwoofer are working correctly. Listen for any distortion or unusual sounds.
How to install car amplifier and subwoofer diagram

Conclusion
Congratulations! You’ve successfully installed a car amplifier and subwoofer, enhancing your car audio experience. Follow this step-by-step guide and the included diagram to ensure a smooth and enjoyable installation process. With a powerful amplifier and a well-placed subwoofer, you’ll be cruising down the road with the perfect bass thumping through your car’s sound system.
By following these instructions, you can create a high-quality audio system that will take your driving experience to the next level. Enjoy your music as it was meant to be heard, with deep, rich bass and crystal-clear sound. Safe driving and happy listening!
Looking for a subwoofer , check out our buying guides. We tested and reviewed subwoofers from all categories 8 inch , 10 inch , 12 inch and 15 inch just so you can make the best buy.