How to install subwoofer in car : active subwoofers
Contents
- 1 How to install subwoofer in car : active subwoofers
- 1.0.1 Step 1: Gather Your Tools and Supplies
- 1.0.2 Step 2: Choose the Right Location for Your Subwoofer
- 1.0.3 Step 3: Disconnect the Car Battery
- 1.0.4 Step 4: Prepare Wiring Connections
- 1.0.5 Step 5: Connect the Remote Wire
- 1.0.6 Step 6: Connect the Speaker-Level Inputs
- 1.0.7 Step 7: Install the Subwoofer
- 1.0.8 Step 8: Test the Subwoofer
- 1.0.9 Step 9: Reassemble the Car Interior
- 1.0.10 Step 10: Fine-Tune the Settings
- 1.0.11 Conclusion:
Enhancing your car’s audio system with an active subwoofer is a fantastic way to enjoy deep, powerful bass while on the road. Active subwoofers come with a built-in amplifier, making them a convenient and space-saving choice. In this step-by-step guide, we’ll walk you through the process of installing an active subwoofer in your car, ensuring you achieve the best audio quality possible. Here are the steps how to install a subwoofer in car for active subwoofers:
Step 1: Gather Your Tools and Supplies
Before you begin the installation, it’s essential to gather all the necessary tools and supplies. Here’s a list of what you’ll need:
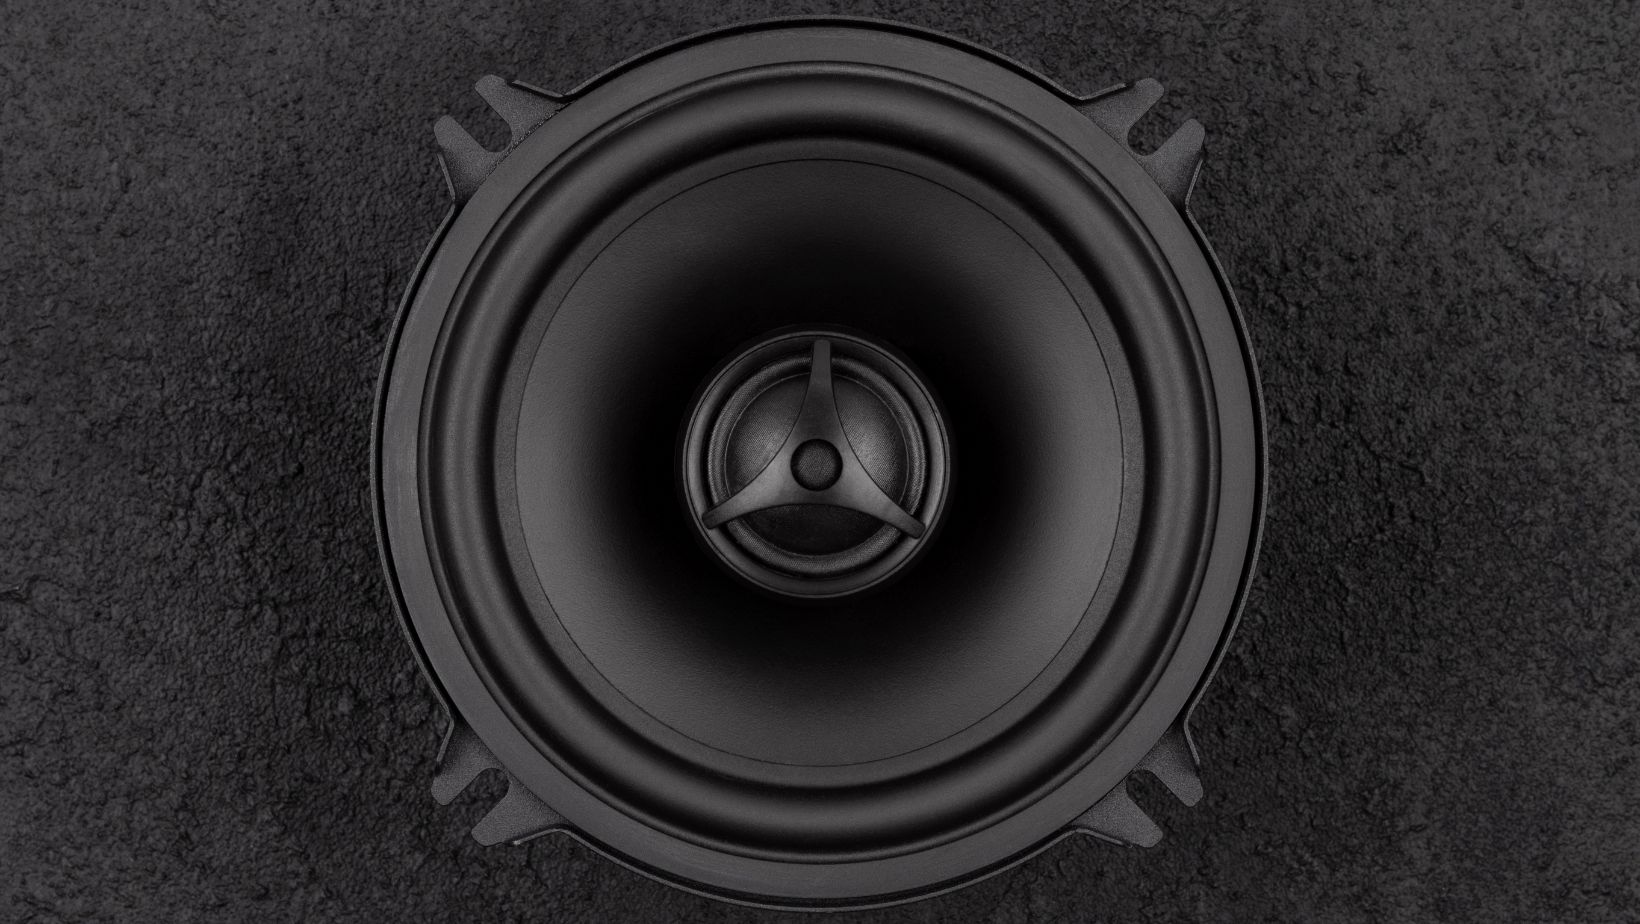
- Active subwoofer with built-in amplifier
- Subwoofer wiring kit
- Screwdrivers and wrenches
- Wire crimping tool
- Wire strippers
- Multimeter
- Socket set
- Panel removal tools
- Electrical tape and zip ties
- Safety glasses and gloves
Having these tools and supplies on hand will make the installation process smoother and more efficient.
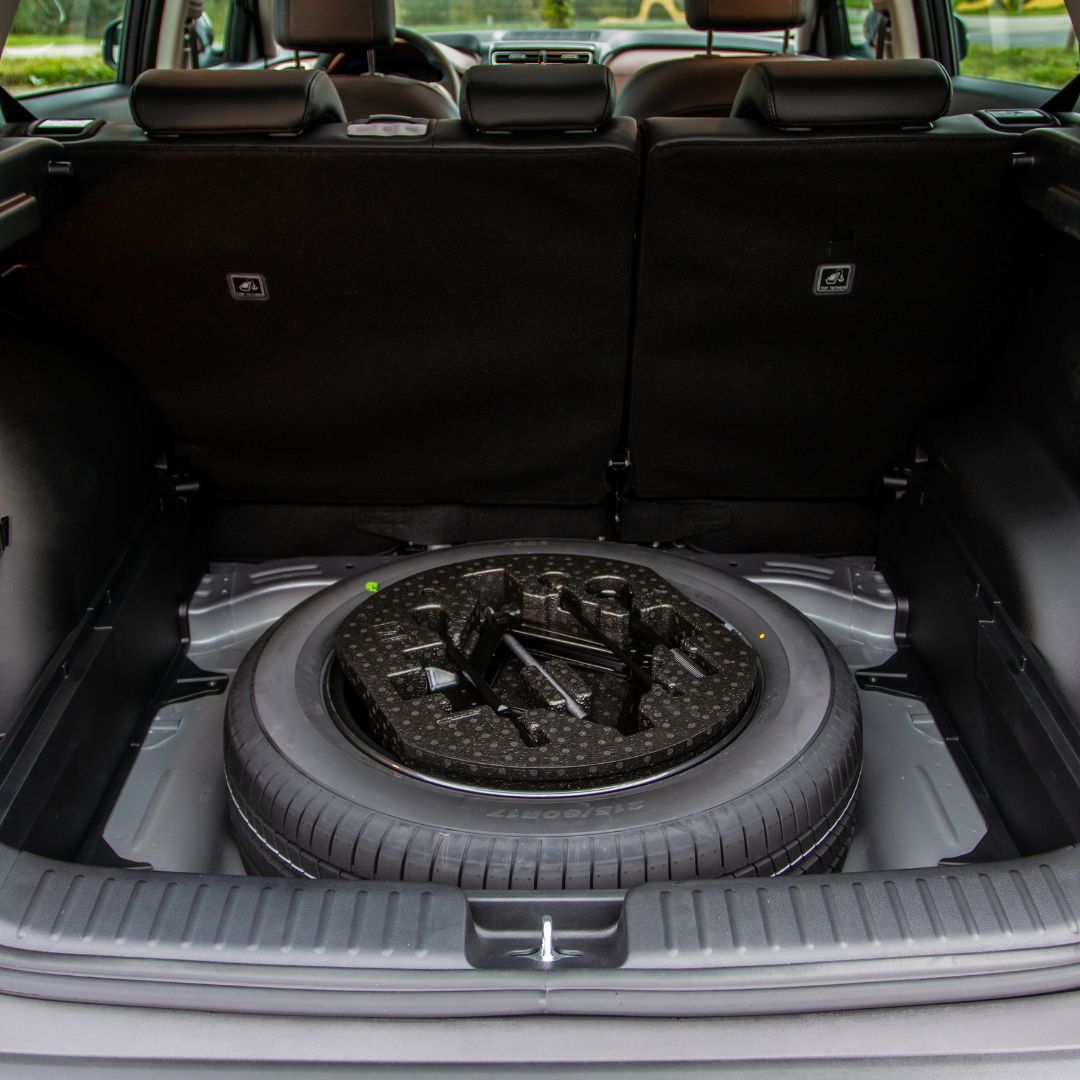
Step 2: Choose the Right Location for Your Subwoofer
Selecting the appropriate location for your active subwoofer is crucial for optimal sound quality. Common locations include the trunk, under the seats, or in the rear cargo area. Ensure that the chosen spot allows for proper ventilation and doesn’t obstruct your view or use of trunk space.
Step 3: Disconnect the Car Battery
Safety is a top priority. Before you start working on the installation, disconnect the car’s battery to prevent electrical mishaps. You should locate the battery’s negative terminal and use a wrench to remove the cable. This will ensure that there’s no power running through the car during the installation.
Step 4: Prepare Wiring Connections
Active subwoofers require several wiring connections to function correctly. Follow these steps:
A. Locate a Suitable Ground Point: Find a solid, unpainted metal surface in your car’s trunk or chosen installation location. Ensure it’s free from rust, paint, and other contaminants. Use a wire brush to clean the surface if necessary.
B. Connect the Ground Wire: Attach the subwoofer’s ground wire (usually black) to the chosen ground point. Secure it tightly using a ring terminal and a screw or bolt. This connection ensures that your subwoofer has a good ground and reduces the chance of electrical interference.
C. Connect the Power Wire: Connect the power wire (usually red) to the positive terminal of your car’s battery. Use a ring terminal for a secure connection.
D. Secure Wiring: Route the power and ground wires from the subwoofer to the battery, ensuring they are well-secured and out of the way of moving parts, such as the steering linkage or engine belts. Use zip ties and wire clips to keep the wires neat and organized.
Step 5: Connect the Remote Wire
The remote wire (usually blue) tells the subwoofer when to turn on and off. Connect it to the remote turn-on lead of your car’s stereo. You may need to refer to your stereo’s manual to find this wire. Ensure a secure and insulated connection.
Step 6: Connect the Speaker-Level Inputs
If your car stereo doesn’t have RCA outputs for the subwoofer, you can use speaker-level inputs. This allows you to connect your subwoofer to the speaker wires of your car stereo. Simply strip the insulation from the speaker wires, crimp them to the provided connectors in the subwoofer wiring kit, and plug them into the subwoofer.
Step 7: Install the Subwoofer
With the wiring connections in place, it’s time to secure the subwoofer in its chosen location. Follow these steps:
A. Attach the Subwoofer Bracket: If your subwoofer comes with a mounting bracket, attach it to the subwoofer using the provided screws.
B. Secure the Subwoofer: Mount the subwoofer securely to the chosen location using the appropriate screws or brackets. Make sure it’s firmly in place and won’t move during vehicle operation.
Step 8: Test the Subwoofer
Before reassembling the car’s interior, it’s crucial to test the subwoofer to ensure it’s functioning correctly. Reconnect the car’s battery, power on the stereo, and play some music with heavy bass to verify that the subwoofer is producing sound. If everything sounds good, you’re ready to move on.
Step 9: Reassemble the Car Interior
Once you’ve confirmed that the subwoofer is working as intended, it’s time to reassemble the car’s interior. This may involve reinstalling panels, trim, and any components you removed during the installation. Make sure to leave the wiring neatly routed and secured.
Step 10: Fine-Tune the Settings
Most active subwoofers come with adjustable settings for volume, crossover frequency, and phase. Spend some time fine-tuning these settings to achieve the best audio balance for your preferences. Experiment with different settings and listen to a variety of music to find the sweet spot.
Conclusion:
Installing an active subwoofer in your car can significantly enhance your audio experience, providing deep and powerful bass that complements your music. By following this step-by-step guide and paying attention to safety and proper wiring, you can enjoy high-quality sound on the road. Whether you’re a seasoned car audio enthusiast or a beginner, this installation process can be a rewarding DIY project. If you’re looking for an active subwoofer to suit your car , we have already tested 8 inch , 10 inch , 12 inch and 15 inch subwoofers so you can make the best buy .
We hope you found helpful our guide on how to install a subwoofer in car.